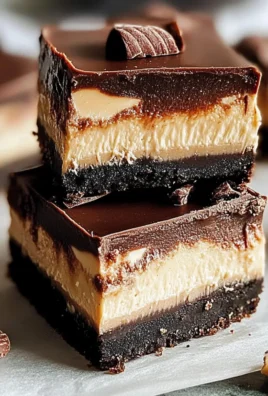
There’s a certain joy that comes from pairing simple ingredients with a dash of creativity, and that’s exactly what these Easy Peanut Butter Desserts embody. I remember the day I was craving something sweet, yet didn’t want to spend hours in the kitchen. As I wiped the remnants of peanut butter from my fingers, an idea sparked—why not whip up a batch of delicious treats that require minimal effort?
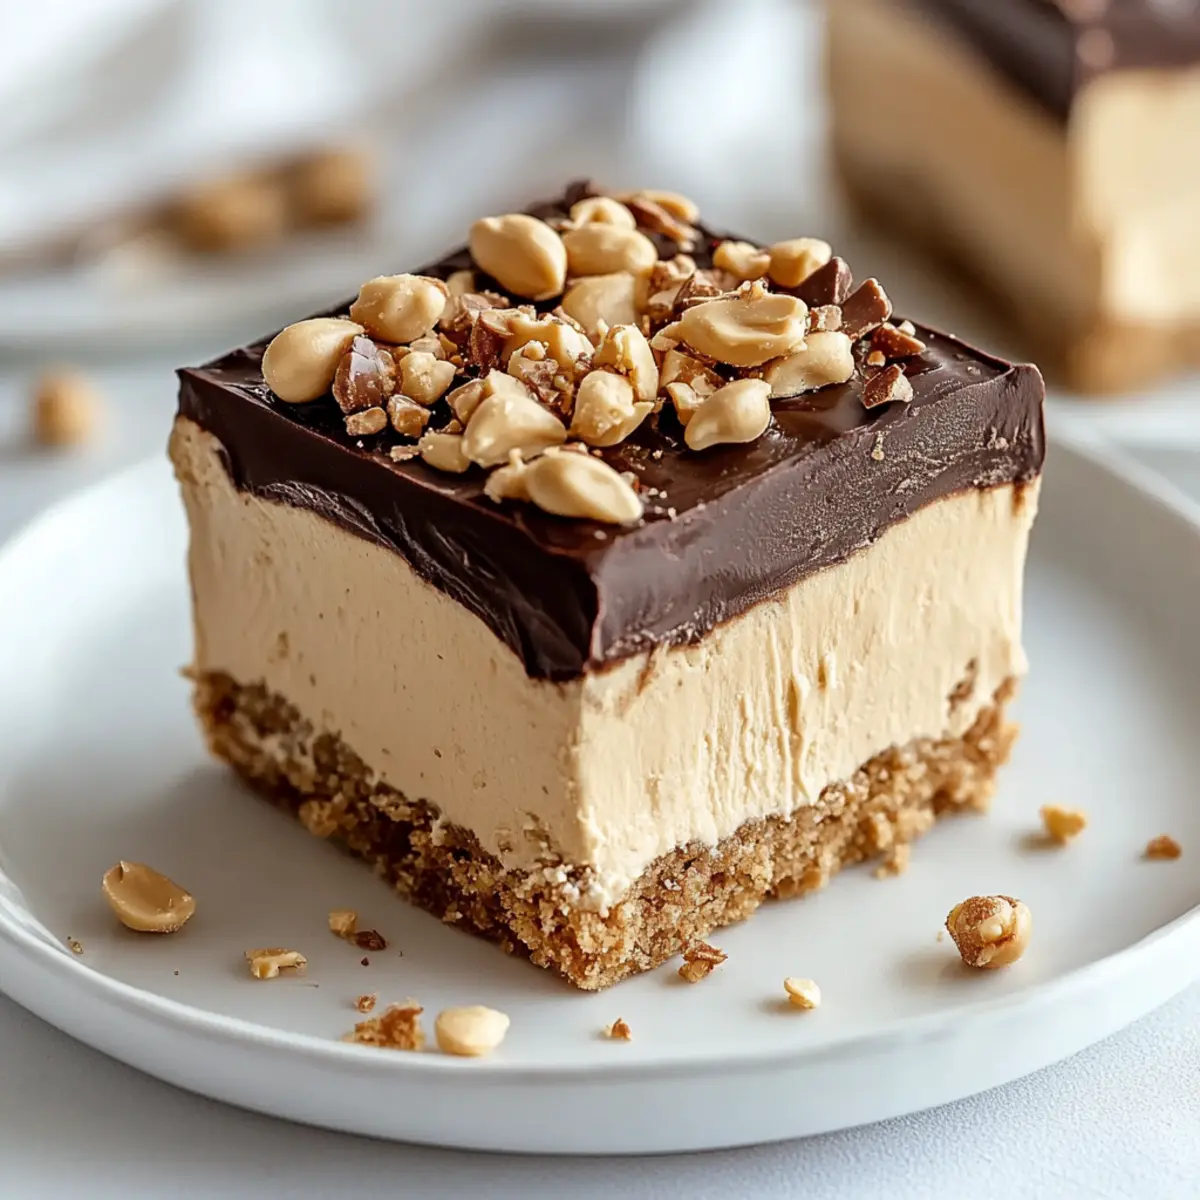
With just a few pantry staples like peanut butter, sugar, and flour, this recipe is perfect for those of us who are looking to satisfy our sweet tooth without the hassle. Whether you’re planning a cozy family night or just want to treat yourself after a long day, these desserts are sure to impress. And the best part? They can be dressed up with chocolate chips or nuts for added flair, making them a versatile option that’ll leave your guests coming back for seconds!
So grab that jar of peanut butter and let’s dive into this delightful recipe that promises warm, gooey goodness—ready in under an hour!
Why You'll Love This Easy Peanut Butter Desserts
- This recipe is incredibly easy to make, requiring just a few simple ingredients and minimal prep time.
- The rich, creamy peanut butter flavor will have you coming back for more, making every bite a delight.
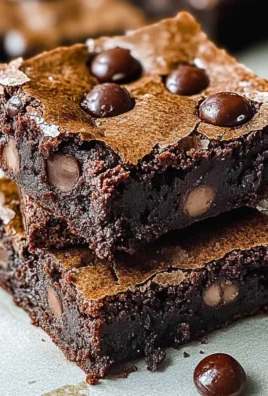
- Its versatility means you can customize the treats with your choice of mix-ins, like chocolate chips or nuts, to suit your taste.
- Lastly, these desserts are visually appealing and perfect for sharing, making them a crowd-pleaser for any occasion.
Easy Peanut Butter Dessert Ingredients
• Whip up a batch of bliss with these Easy Peanut Butter Desserts!
For the Dough
- Peanut butter – creamy or chunky works wonderfully, adding that signature flavor.
- Granulated white sugar – provides sweetness and a classic texture.
- Brown sugar – adds moisture and a hint of caramel flavor.
- All-purpose flour – the base that holds everything together.
- Eggs – bind the ingredients and help them rise.
- Butter – adds richness; salted or unsalted will do!
- Baking soda – helps the treats rise for that perfect texture.
- Baking powder – ensures a light and airy dessert.
- Salt – enhances flavor and balances sweetness.
- Vanilla extract – adds depth and an aromatic touch.
Optional Mix-ins
- Chocolate chips – brings a delicious burst of sweetness in every bite.
- Chopped nuts – adds crunch and nutty goodness for texture.
- Rolled oats – for heartiness and a chewiness that elevates the treats.
Embrace the happiness that these Easy Peanut Butter Desserts can bring to your kitchen!

How to Make Easy Peanut Butter Desserts
-
Preheat your oven to 350°F (175°C). Line a baking sheet with parchment paper or prepare an 8×8 or 9×13 inch baking pan by greasing and flouring it for bars. This will ensure even cooking!
-
Mix together the softened butter, peanut butter, and both sugars in a large mixing bowl. Beat until light and fluffy, roughly 2-3 minutes. Then, add in the eggs and vanilla extract until everything is just combined.
-
Whisk the dry ingredients! In a separate bowl, combine the flour, baking soda, baking powder, and salt. This ensures that the leavening agents are evenly dispersed throughout the batter.
-
Combine the dry ingredients with the wet mixture gradually. Mix on low speed or gently fold by hand until just incorporated. If you’re feeling adventurous, now’s the time to add optional mix-ins like chocolate chips or nuts!
-
Scoop the dough for cookies using a tablespoon or cookie scoop. Roll into balls and space them 2 inches apart on the baking sheet. If making bars, press the dough evenly into the prepared pan. Flatten each cookie with a fork for that lovely design!
-
Bake your creations! For cookies, pop them into the oven for 10-14 minutes. For bars, let them bake for 20-30 minutes, until the edges are lightly golden brown. Keep an eye on them for that perfect bake!
-
Cool your treats. Allow cookies to rest on the baking sheet for 5-10 minutes before moving to a wire rack. If you made bars, let them cool completely in the pan before slicing into squares.
Optional: Sprinkle some sea salt on top before serving for a delightful flavor contrast!
Exact quantities are listed in the recipe card below.
Peanut Butter Variations
Get ready to explore delightful twists on your classic peanut butter treats!
-
Nut-Free: Swap peanut butter for sunflower seed butter, creating a delicious alternative that’s nut-free and allergy-friendly.
-
Whole Wheat: Use whole wheat flour instead of all-purpose flour for a heartier texture and added fiber without sacrificing taste.
-
Vegan: Substitute eggs with flaxseed meal mixed with water, and use a vegan butter alternative to make these treats plant-based.
-
Chocolate Swirl: Melt some chocolate and swirl it into the dough before baking for a decadent chocolatey surprise in every bite.
-
Spicy Twist: Add a pinch of cayenne pepper or a few dashes of hot sauce to the base for a surprising kick, balancing the sweetness beautifully.
-
Oatmeal Boost: Mix in rolled oats and increase the flour slightly for a chewier texture, creating a scrumptious oatmeal peanut butter variation.
-
Gluten-Free: Replace all-purpose flour with a 1:1 gluten-free flour blend to accommodate gluten-free diets while still enjoying the same crave-worthy flavor.
-
Maple Sweetness: Substitute some granulated sugar with pure maple syrup for a warm, rich flavor that will leave your taste buds dancing with joy.
Feel free to mix and match these ideas to create your perfect peanut butter dessert!
What to Serve with Easy Peanut Butter Desserts?
Indulging in a plate of warm, peanut butter treats can be a delightful experience, and pairing them with the right accompaniments will elevate that joy even further.
-
Milk: A classic pairing that complements the sweetness, milk enhances the creamy texture of these desserts, making each bite richer.
-
Vanilla Ice Cream: The cold, creamy ice cream contrasts wonderfully with the soft texture of the peanut butter goodies, creating a beautifully balanced dessert experience.
-
Fresh Berries: Juicy strawberries or raspberries bring a tartness that cuts through the sweetness, adding a refreshing twist to every bite.
-
Chocolate Sauce: Drizzling warm chocolate sauce over your peanut butter treats adds a decadent layer of flavor that peanut butter enthusiasts will adore.
-
Honey Drizzle: A little touch of honey can enhance the natural sweetness while adding a subtle floral note—perfect for those moments you want a touch of elegance.
-
Coffee: A warm cup of coffee pairs excellently, providing a nice contrast to the rich flavors of the peanut butter, enhancing your dessert moment.
These choices round out your dessert experience wonderfully, turning each slice or bite of your Easy Peanut Butter Desserts into a cozy celebration!
Make Ahead Options
These Easy Peanut Butter Desserts are perfect for meal prep, allowing you to save time and still enjoy homemade goodness! You can prepare the dough up to 24 hours in advance; simply mix the wet and dry ingredients as directed, then wrap the bowl tightly with plastic wrap and refrigerate. For the best texture and flavor, let the dough come to room temperature before baking. If you’re making bars, you can also bake them ahead of time and store them in an airtight container for up to 3 days. When you’re ready to serve, simply cut them into squares or reheat the cookies briefly in the oven to restore that fresh-baked taste. With these make ahead tips, you’ll have delicious treats ready for any occasion with minimal effort!
How to Store and Freeze Easy Peanut Butter Desserts
Room Temperature: Keep your Easy Peanut Butter Desserts in an airtight container at room temperature for up to 3 days to maintain freshness.
Fridge: For a longer shelf life, store desserts in the fridge for up to 1 week. Ensure they are in a tightly sealed container to prevent them from drying out.
Freezer: Freeze cookies or bars individually wrapped in plastic wrap, then placed in a freezer-safe bag or container for up to 3 months. Thaw at room temperature before enjoying.
Reheating: For the best experience, gently reheat cookies in a microwave for 10-15 seconds or warm bars in the oven at 350°F (175°C) for 5-7 minutes.
Chef's Helpful Tips
- When making Easy Peanut Butter Desserts, ensure your butter is softened, as this will help create a creamy texture when mixed with the peanut butter and sugars.
- Avoid overmixing the dough once you combine the dry and wet ingredients; this will prevent your treats from becoming too tough.
- For the best flavor, consider toasting any chopped nuts before adding them to your dough, enhancing their nutty profile.
- Remember to check for doneness at the lower end of the baking time; cookies should be lightly golden around the edges while still soft in the center for optimal texture.
Easy Peanut Butter Desserts Recipe FAQs
How do I choose the right peanut butter?
Absolutely! The peanut butter you choose can significantly affect the flavor of your Easy Peanut Butter Desserts. For a classic taste, creamy peanut butter is recommended. However, if you prefer some crunch, feel free to use chunky peanut butter, which will add texture to your treats. Just make sure it’s well-stirred if you opt for natural peanut butter, as it can separate.
How should I store my Easy Peanut Butter Desserts?
To keep your Easy Peanut Butter Desserts fresh, store them in an airtight container at room temperature for up to 3 days. For extended freshness, they can be kept in the refrigerator for up to a week. Just be sure to seal them tightly to prevent them from drying out!
Can I freeze Easy Peanut Butter Desserts?
Certainly! Freezing is a fantastic option for keeping your Easy Peanut Butter Desserts. To do this, wrap your cookies or bars individually in plastic wrap. Then, place them in a freezer-safe bag or container. They can be stored in the freezer for up to 3 months. When you’re ready to indulge, simply thaw them at room temperature for the best taste and texture.
What should I do if my cookies are too dry or crumbly?
Very! If your cookies turn out too dry, it might be due to overmixing or adding too much flour. After combining the wet and dry ingredients, mix just until incorporated. For a solution, try adding a splash of milk or an extra egg next time to achieve that desired moistness. Also, make sure to measure your flour correctly—spoon it into your measuring cup and level it with a knife, rather than scooping directly from the bag.
Are these desserts suitable for anyone with nut allergies?
No, these Easy Peanut Butter Desserts are not suitable for those with nut allergies. Peanut allergies can be quite serious! If you’re looking for nut-free alternatives, consider using sunbutter (sunflower seed butter) or soy nut butter, which can give a similar texture and flavor without the nuts. Just be sure to keep an eye on cross-contamination if you’re preparing them in a shared kitchen!
Equipment
- mixing bowl
- baking sheet
- parchment paper
Ingredients
For the Dough
- 1 cup Peanut butter creamy or chunky works well
- 1 cup Granulated white sugar provides sweetness
- 1/2 cup Brown sugar adds moisture
- 1 cup All-purpose flour the base ingredient
- 2 large Eggs binds ingredients
- 1/2 cup Butter salted or unsalted
- 1 teaspoon Baking soda helps the treats rise
- 1 teaspoon Baking powder ensures a light dessert
- 1/4 teaspoon Salt enhances flavor
- 1 teaspoon Vanilla extract adds depth
Optional Mix-ins
- 1 cup Chocolate chips adds sweetness
- 1/2 cup Chopped nuts adds crunch
- 1 cup Rolled oats for heartiness
Instructions
Preparation
- Preheat your oven to 350°F (175°C). Line a baking sheet with parchment paper or grease a baking pan.
- Mix together softened butter, peanut butter, and both sugars in a bowl until light and fluffy.
- Add in the eggs and vanilla extract until just combined.
- In a separate bowl, whisk together flour, baking soda, baking powder, and salt.
- Gradually combine the dry ingredients with the wet mixture. Add optional mix-ins if desired.
- Scoop dough onto the baking sheet or press into the prepared pan.
- Bake cookies for 10-14 minutes, or bars for 20-30 minutes until golden brown.
- Allow cookies to cool before transferring to a wire rack. Cool bars completely before slicing.
- Optional: Sprinkle sea salt on top before serving.
Leave a Comment