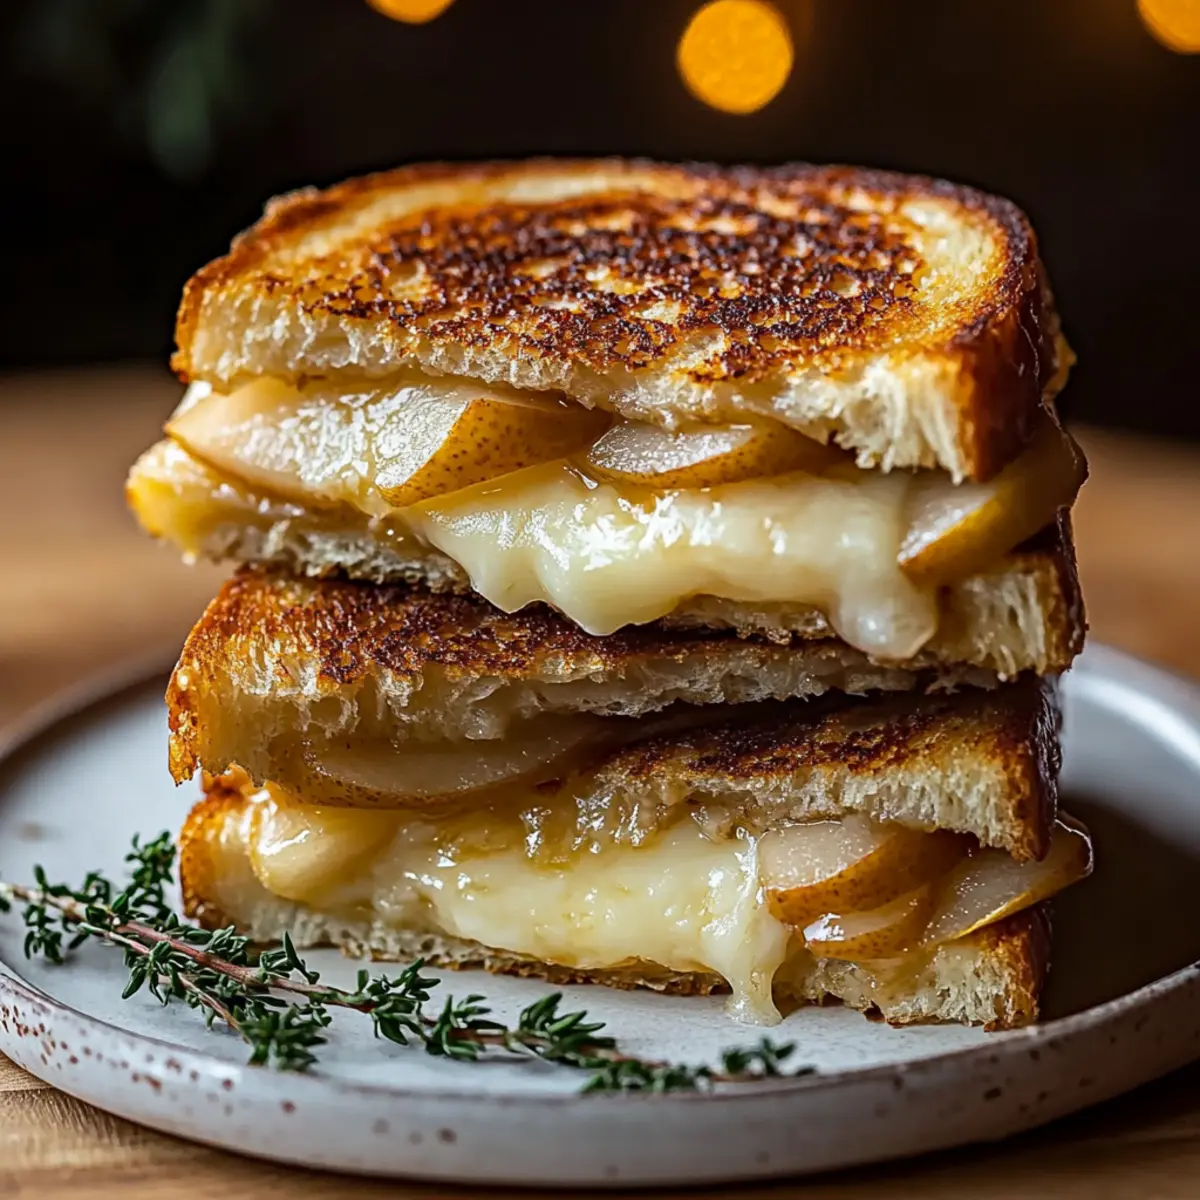
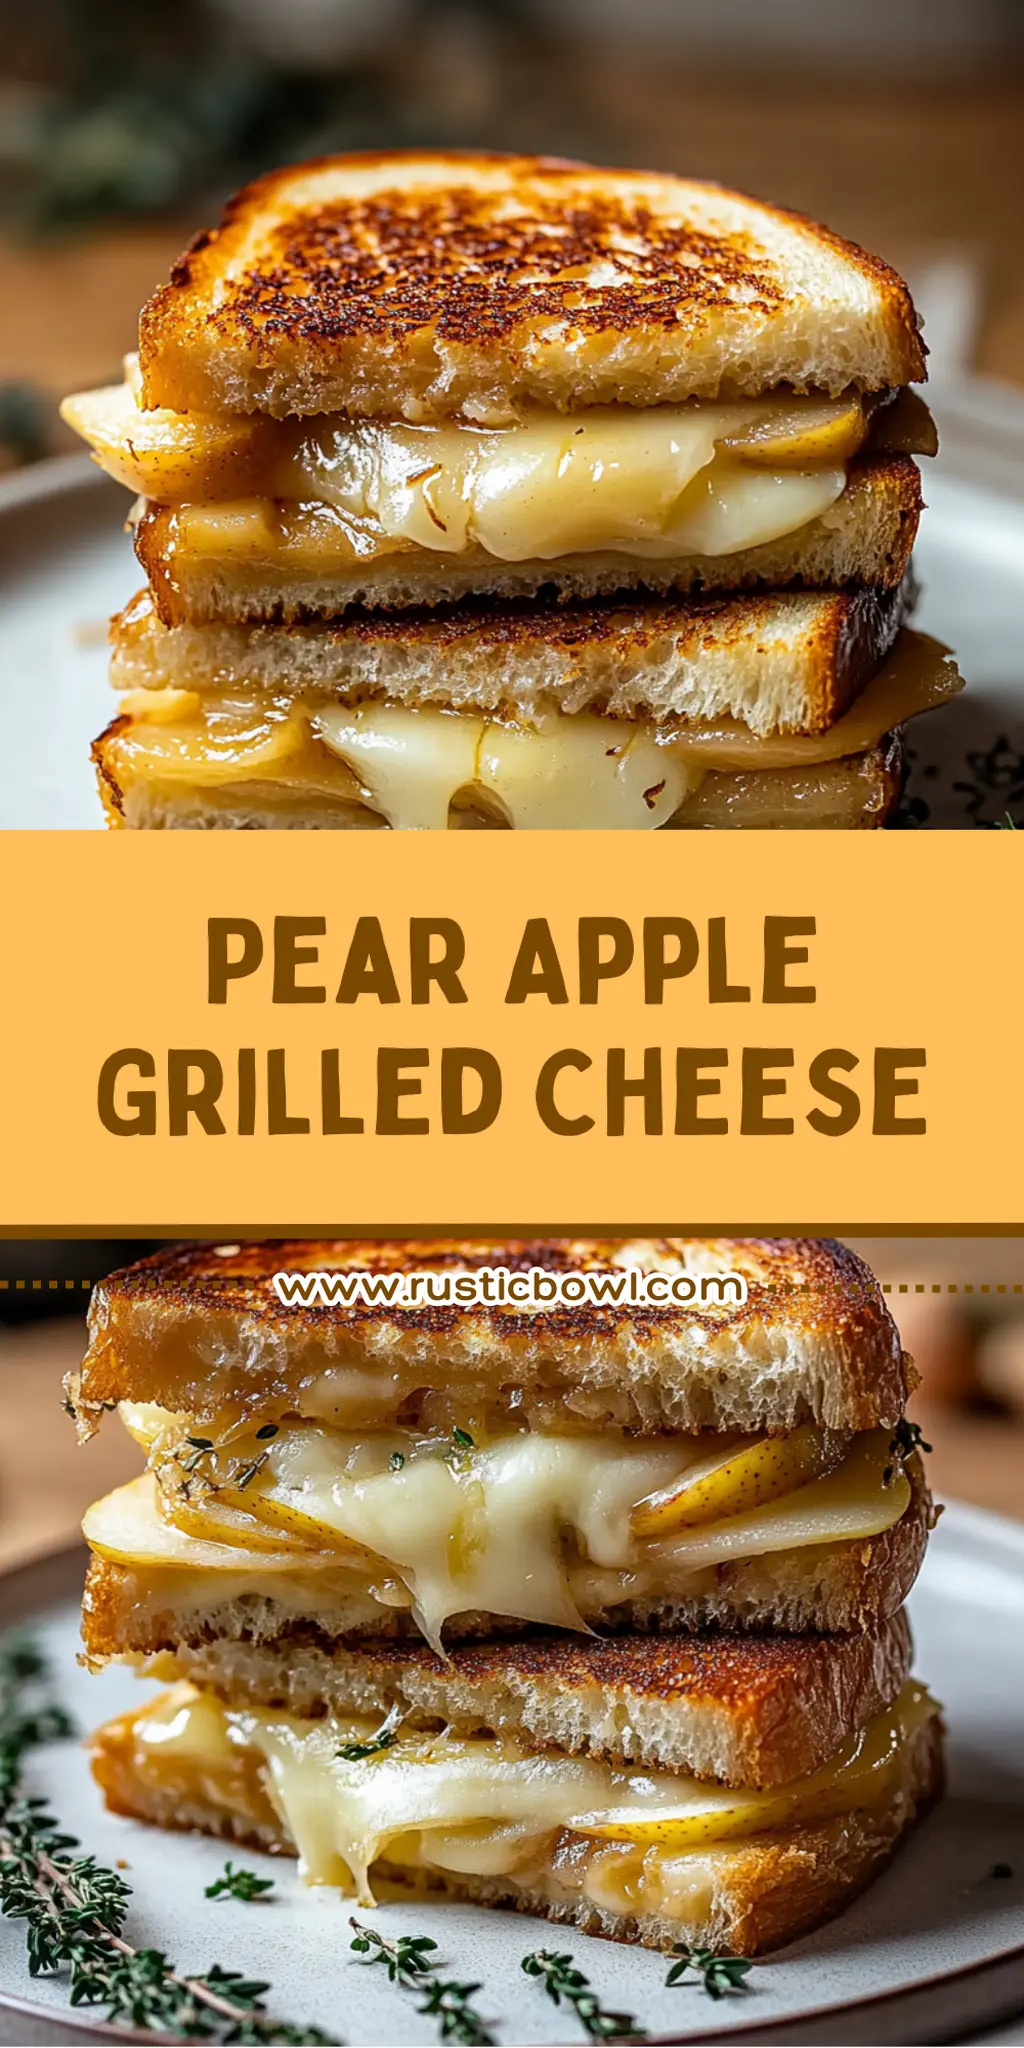
There’s nothing quite like the first bite of a grilled cheese sandwich, warm and gooey with melted cheese dribbling down your fingers. Now, imagine adding slices of juicy pears and crisp apples to the mix—all complementing the rich, savory caramelized onions. This Pear Apple Grilled Cheese is my delightful twist on an old favorite, effortlessly merging sweet and savory flavors into every bite.
It all started on a chilly afternoon when I was rummaging through my fridge, searching for inspiration beyond my usual lunchtime fare. The perfect balance of the tart Granny Smith apple and the sweet pear was just sitting there, waiting to be transformed. With vibrant colors and enticing aromas wafting from the skillet, we all deserve a meal that not only nourishes but also excites our taste buds.
This recipe is not just about grilled cheese; it’s about bringing a little gourmet flair to our everyday meals without the fuss. Trust me—you’ll want to savor every last bite of this comforting, crowd-pleasing sandwich!
Why You'll Love This Pear Apple Grilled Cheese
- This Pear Apple Grilled Cheese combines the classic comfort of grilled cheese with the delightful sweetness of fresh fruits, making it a unique and flavorful experience.
- It’s an easy recipe that requires minimal time and effort, allowing you to enjoy a gourmet meal in just 45 minutes.
- The versatility of this sandwich means you can experiment with different cheeses or breads to suit your taste, making it perfect for any occasion.
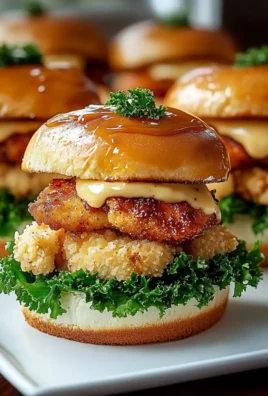
- Visually, the vibrant colors of the pears and apples create an appealing presentation that is sure to impress family and friends.
Pear Apple Grilled Cheese Ingredients
• Get ready to create a mouthwatering delight!
For the Sandwich
- Firm, sweet-tart pears – a juicy addition that enhances the flavor profile of your Pear Apple Grilled Cheese.
- Granny Smith or Honeycrisp apples – their tartness beautifully contrasts with the sweetness of the pears.
- Sharp cheddar cheese – provides a delightful zing that complements the sweetness of the fruits.
- Gruyere cheese or creamy Havarti – add a layer of creaminess that melts perfectly in each bite.
- Sourdough bread or brioche/challah – choose a sturdy bread that toasts beautifully and holds all the delicious fillings together.
For the Caramelized Onions
- Sweet yellow onion or Vidalia onion – these types become perfectly mellow and sweet when caramelized, enhancing the sandwich’s depth.
- Butter or mayonnaise – use this on the bread for an irresistible golden crust and added richness.
Feel free to explore and make this Pear Apple Grilled Cheese your own with your favorite ingredients!
How to Make Pear Apple Grilled Cheese
-
Slice Onions: Begin by thinly slicing the sweet yellow or Vidalia onion. Melt a tablespoon of butter over medium-low heat in a large skillet. Add the onions, a pinch of salt, and some black pepper. Cook slowly for 20-30 minutes until they’re deeply golden brown and soft, stirring occasionally. If they stick, deglaze the pan with a splash of water or a teaspoon of apple juice.
-
Prepare Fruits: Wash and core the pears and apples. Slice them thinly, about 1/8 to 1/4 inch thick, so they fit perfectly in your sandwich layers.
-
Assemble Sandwich: Spread softened butter or mayonnaise evenly on one side of each slice of bread. Place one slice of bread, buttered-side down, into a dry skillet. Layer it generously with shredded cheese, followed by caramelized onions. Add the pear and apple slices, slightly overlapping them, and top with another layer of cheese. Finally, cover with the second slice of bread, buttered-side up.
-
Grill the Sandwich: Place the sandwich in the skillet over medium-low heat. Cook for about 4-6 minutes per side, or until the bread is golden brown and crispy, and the cheese is melted inside. Gently press down with a spatula halfway through the first side to ensure even toasting. Flip and continue cooking until fully golden.
-
Serve & Enjoy: Once perfectly grilled, transfer the sandwich to a cutting board and slice it in half. Serve immediately while it’s hot and gooey!
Optional: Serve with a side of sweet or spicy dipping sauce for an extra flavor kick.
Exact quantities are listed in the recipe card below.
How to Store and Freeze Pear Apple Grilled Cheese
Fridge: Store any leftover Pear Apple Grilled Cheese in an airtight container for up to 3 days. Reheat in a skillet over low heat for a few minutes to regain that gooey texture.
Freezer: For longer storage, wrap the sandwich tightly in plastic wrap and aluminum foil before freezing. It can last up to 1 month; when you’re ready to enjoy, thaw in the fridge overnight and then reheat in the skillet.
Reheating: To reheat, preheat your skillet over medium-low heat and warm each side for about 2-4 minutes, making sure the cheese melts and the bread gets crispy again.
Room Temperature: It’s best to consume your Pear Apple Grilled Cheese within 2 hours of leaving it out, as heat can affect the quality of the filling and the bread.
Make Ahead Options
These Pear Apple Grilled Cheese sandwiches are perfect for meal prep enthusiasts looking to save time on busy weeknights! You can caramelize the onions up to 3 days in advance and store them in an airtight container in the refrigerator. Additionally, slice the pears and apples ahead of time—just toss them in a little lemon juice to prevent browning. You can assemble the sandwiches up to 24 hours before cooking; simply layer the cheese, onions, and fruit between the bread, wrap them tightly, and refrigerate. When you’re ready to enjoy, just grill them in a skillet until golden and gooey. This way, you’ll have a delicious, gourmet meal with minimal effort!
What to Serve with Pear Apple Grilled Cheese?
Enjoying a warm and gooey sandwich is a delightful experience, but pairing it with the perfect sides can elevate your meal to new heights.
- Crispy Sweet Potato Fries: The sweet earthiness of these fries adds a crunchy contrast to the creamy grilled cheese, making every bite exciting.
- Roasted Brussels Sprouts: With a hint of bitterness and nutty flavor, these tender sprouts provide a fresh pop to complement the sweetness of the sandwich.
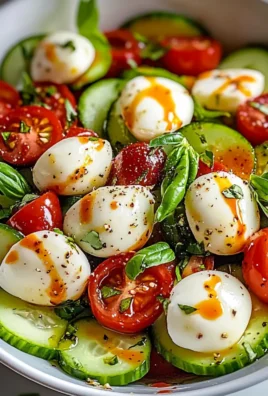
For something refreshing, try a light salad. Use a blend of mixed greens, sliced apples, and walnuts drizzled with a tangy vinaigrette. The brightness of the salad will perfectly balance the richness of the grilled cheese.
-
Tomato Basil Soup: The classic pairing of grilled cheese and tomato soup is brought to life with fresh basil, enhancing the flavors of both dishes.
-
Cranberry Sauce: A small dish of tart cranberry sauce can accentuate the sweet notes in the Pear Apple Grilled Cheese, giving a unique twist to your meal.
-
Sparkling Apple Cider: This bubbly drink enhances the apple flavor in the sandwich while providing a festive touch to your dining experience.
-
Chocolate Chip Cookies: No meal is complete without dessert! The warm, melty chocolate chips create a sweet ending after enjoying your savory sandwich.
Pear Apple Grilled Cheese Variations
Feel free to play around with the ingredients and make this delightful sandwich your own!
-
Cheese Swap: Use smoked gouda or blue cheese for a deeper flavor that adds a delightful twist to your grilled cheese.
-
Add Greens: Incorporate fresh spinach or arugula for a pop of color and a nutrient boost, balancing out the sweetness of the fruits beautifully.
-
Nutty Crunch: Toss in some toasted walnuts or pecans for added texture and a wholesome, nutty flavor that complements the fruits.
-
Spicy Kick: Add sliced jalapeños or a dash of red pepper flakes for those who crave a little heat to contrast with the sweetness of the pears and apples.
-
Honey Drizzle: Before serving, drizzle a touch of honey over the top for a sweet finish that pairs wonderfully with the savory elements.
-
Vegan Option: Replace dairy cheese with plant-based mozzarella and use vegan butter or apple sauce instead for a scrumptious, vegan-friendly sandwich.
-
Herbed Butter: Infuse your butter or mayonnaise with fresh herbs like thyme or rosemary before spreading it on the bread for an aromatic boost.
-
Grilled Fruit Addition: Grill extra slices of pears or apples alongside your sandwich for an enhanced flavor experience and a nice charred touch.
Make these substitutions to create your perfect Pear Apple Grilled Cheese, and enjoy the variations!
Chef's Helpful Tips
- When making your Pear Apple Grilled Cheese, ensure that your onions are sliced thinly for even caramelization.
- Avoid rushing the caramelization process; patience is key to achieving that deep, rich flavor, so keep the heat low and stir occasionally.
- For optimal melting, grate your cheeses instead of slicing them, as this allows for a more even distribution and quicker melting.
- Finally, always preheat your skillet to medium-low before adding the sandwich to get that perfect golden crust without burning the bread.
Pear Apple Grilled Cheese Recipe FAQs
What type of pears and apples should I use?
Absolutely! For this Pear Apple Grilled Cheese, I recommend using firm, sweet-tart pears such as Bosc or Anjou, which hold their shape when cooked. Granny Smith apples add a delightful tartness, while Honeycrisp offers a sweeter counterpart. Choose fruits that are firm to the touch and have vibrant colors for the best flavor.
How should I store leftover Pear Apple Grilled Cheese?
To store your leftover Pear Apple Grilled Cheese, place it in an airtight container in the fridge for up to 3 days. When you’re ready to enjoy, simply reheat it in a skillet over low heat for a few minutes. This method helps maintain that cheesy, gooey goodness while crisping the bread.
Can I freeze Pear Apple Grilled Cheese?
Yes, you can! To freeze, wrap the sandwich tightly in plastic wrap, then in aluminum foil to prevent freezer burn. It can last up to 1 month in the freezer. When it’s time to eat, thaw it in the fridge overnight, then reheat in a skillet over medium-low heat for about 2-4 minutes on each side until it’s hot and the cheese is melted again.
What should I do if my caramelized onions burn?
If your onions burn, don’t fret! Just take a step back to regroup. Remove the burnt onions immediately from the pan, and consider starting over with a fresh batch. Remember to keep the heat low during the caramelization process, and stir regularly to avoid sticking or burning. If they start to brown too quickly, you can always add a splash of water or apple juice to help deglaze.
Is this recipe suitable for those with allergies?
This Pear Apple Grilled Cheese recipe contains dairy due to the cheese and butter. If you or someone you’re serving has a dairy allergy, you can substitute lactose-free cheese and use a non-dairy butter alternative. Always check labels for specific allergens, especially if sharing with friends or family. If you have pets, avoid sharing these sandwiches, particularly due to the cheese content, which can lead to digestive issues for certain animals.
How can I enhance the flavor of my sandwich?
For added flavor, you can experiment with different cheeses, such as pepper jack for a little heat or a smoked Gouda for a unique twist. Additionally, consider seasoning your caramelized onions with herbs like thyme or adding a sprinkle of cinnamon to your apples for a warm touch. The more the merrier with these variations!
Equipment
- skillet
Ingredients
For the Sandwich
- 2 slices Sourdough bread or brioche/challah
- 1 medium Firm, sweet-tart pears
- 1 medium Granny Smith or Honeycrisp apples
- 1 cup Sharp cheddar cheese, shredded
- 1 cup Gruyere cheese or creamy Havarti, shredded
For the Caramelized Onions
- 1 medium Sweet yellow onion or Vidalia onion
- 1 tablespoon Butter or mayonnaise
Instructions
How to Make Pear Apple Grilled Cheese
- Thinly slice the sweet yellow or Vidalia onion. Melt a tablespoon of butter over medium-low heat in a large skillet. Add the onions, a pinch of salt, and some black pepper. Cook slowly for 20-30 minutes until they're deeply golden brown and soft, stirring occasionally.
- Wash and core the pears and apples. Slice them thinly, about 1/8 to 1/4 inch thick.
- Spread softened butter or mayonnaise evenly on one side of each slice of bread. Layer cheese, followed by caramelized onions, pear and apple slices, then another layer of cheese, and cover with the second slice of bread, buttered-side up.
- Place the sandwich in the skillet over medium-low heat. Cook for about 4-6 minutes per side, or until the bread is golden brown and crispy, and the cheese is melted inside.
- Transfer the sandwich to a cutting board and slice it in half. Serve immediately while it's hot and gooey!
Leave a Comment